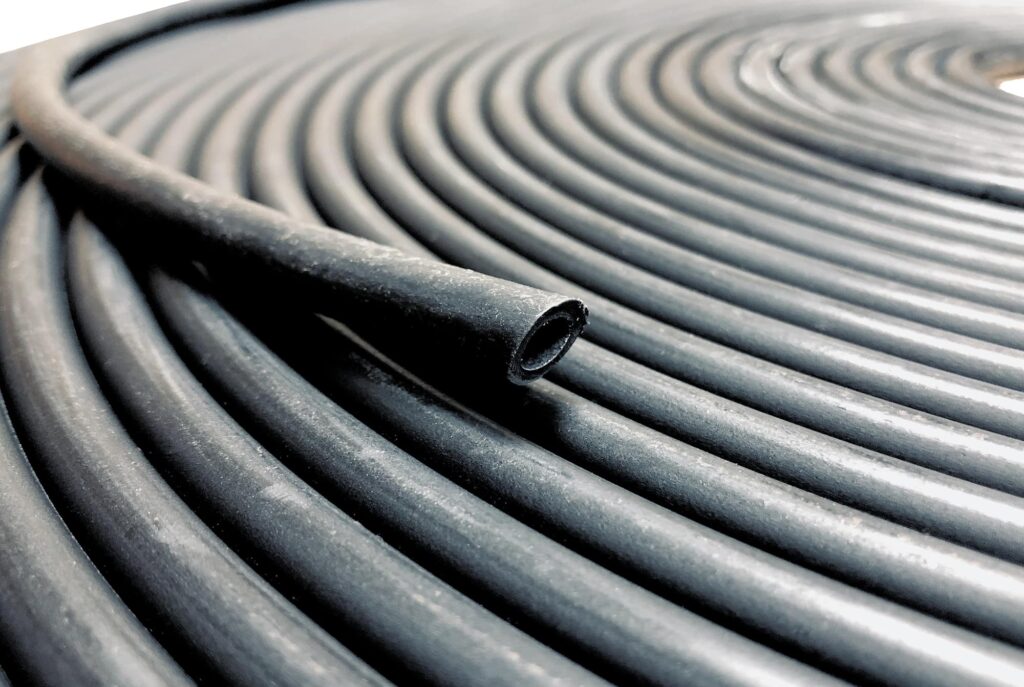
How to Form Rubber Hose?
Rubber hoses are an essential component in various industries, including automotive, agricultural, and construction. However, forming rubber hoses can be a challenging task, especially for those who are new to the process. In this article, we will provide a comprehensive guide on how to form rubber hose, including the tools and techniques required.
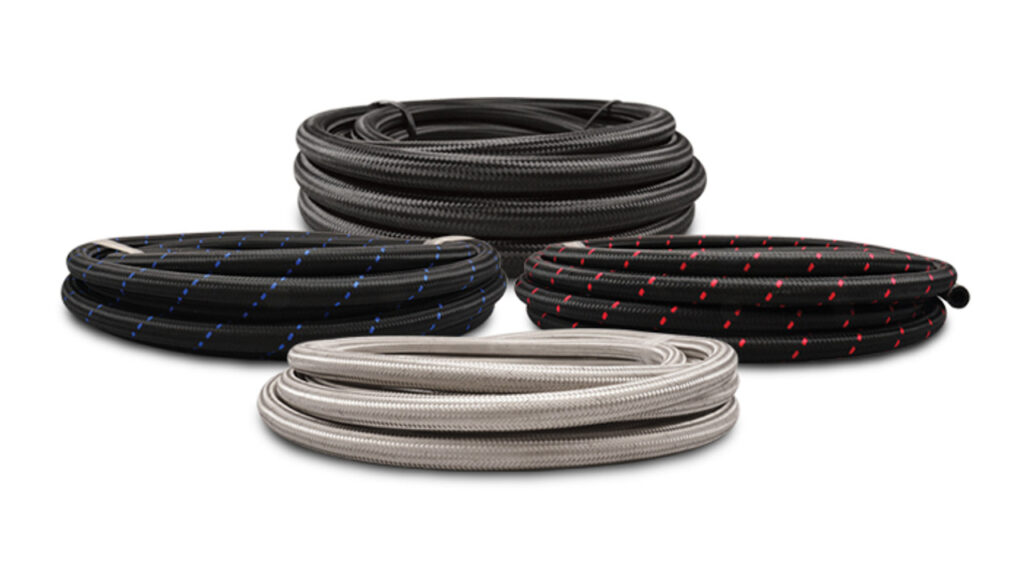
Types of Rubber Hoses
Before we dive into the formation process, it’s essential to understand the different types of rubber hoses available. The most common types include:
- Reinforced rubber hoses: These hoses are reinforced with fibers, such as nylon or polyester, to improve their durability and strength.
- Non-reinforced rubber hoses: These hoses are made of pure rubber and are typically used in low-pressure applications.
- Anti-static rubber hoses: These hoses are designed to prevent static electricity from building up, which can damage the hose and the components it connects to.
Forming Rubber Hoses
Now that you know the different types of hoses, let’s move on to the formation process. Here are the steps involved in forming hoses:
Step 1: Measure and Cut the Rubber Sheet
The first step is to measure and cut the rubber sheet to the desired length. Use a ruler or a measuring tape to ensure accurate measurements.
Step 2: Apply the Adhesive
Once you have cut the rubber sheet, apply an adhesive to the ends of the sheet. This will help bond the rubber together and create a strong seal.
Step 3: Form the Hose
With the adhesive applied, use a hose form or a mold to shape the rubber sheet into a hose. You can use a hand or power tool to help shape the rubber.
Step 4: Add the Reinforcement
If you are using a reinforced rubber hose, add the reinforcement material, such as nylon or polyester, to the hose. This will help improve the durability and strength of the hose.
Step 5: Cure the Hose
Once you have formed the hose, allow it to cure for a few hours or overnight. This will help the adhesive set and the rubber bond together.
Tips and Techniques
Here are some tips and techniques to keep in mind when forming hoses:
- Use a high-quality adhesive to ensure a strong bond between the rubber layers.
- Apply even pressure when forming the hose to avoid wrinkles or bubbles.
- Use a hose form or mold that is specifically designed for the type of hose you are forming.
- Test the hose for leaks and strength before using it.
Conclusion
Forming rubber hoses may seem like a daunting task, but with the right tools and techniques, it can be a relatively easy process. By following the steps outlined in this article, you can create high-quality rubber hoses that are durable and reliable.
Remember to use a high-quality adhesive, apply even pressure, and test the hose before using it. With these tips and techniques, you can ensure a successful formation process.